How to Quickly Resize Multiple Images
From XnView Wiki
Resizing images or photos in batches can be very useful to reduce the weight of the files without losing quality, and be able to share them quickly. With XnResize, you can resize many images easily with a couple of clicks in a simple interface.
XnResize exists for Windows (8.0, 8.1, 10), MacOS (10.12+) Linux and supports more than 400 different file formats, from popular formats like JPEG, PNG, TIFF or PSD to various digital camera photo RAW formats and new formats such as WebP, HEIC, JPEG 2000.
After installing XnResize, and starting it, you can see the main interface.
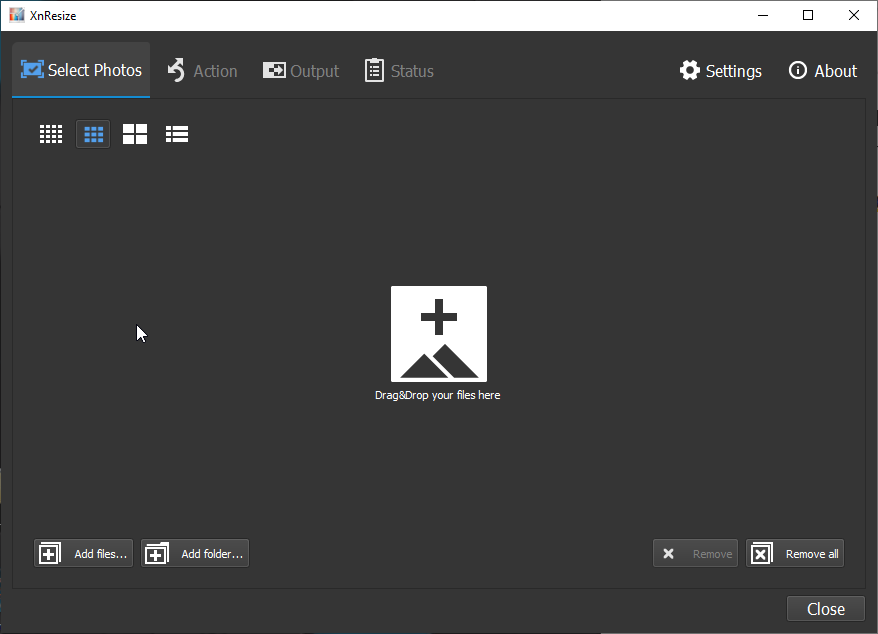
You can import the images from your computer one by one, or by importing directly a folder.

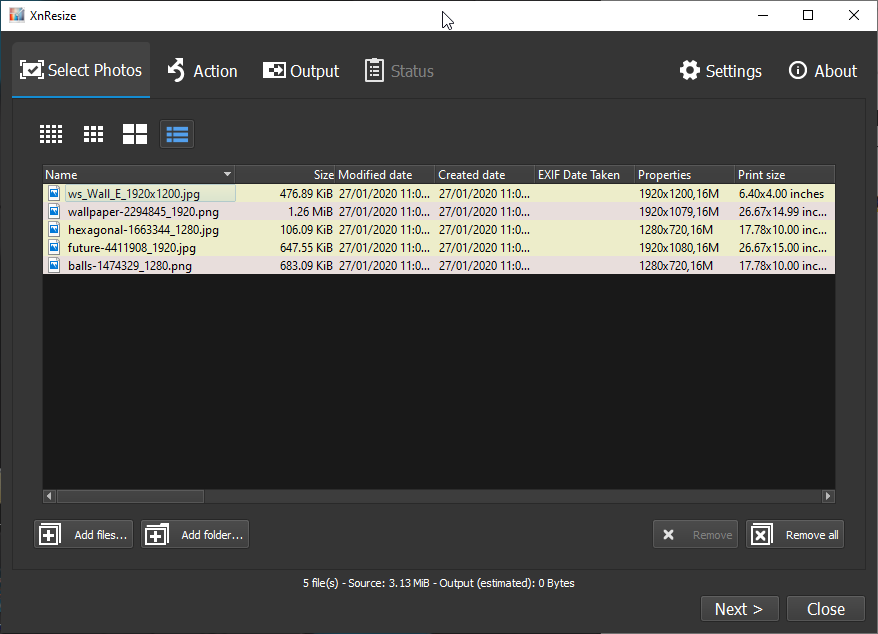
You can change the view mode of files, for example see details of images. And sorting them by clicking on the header.
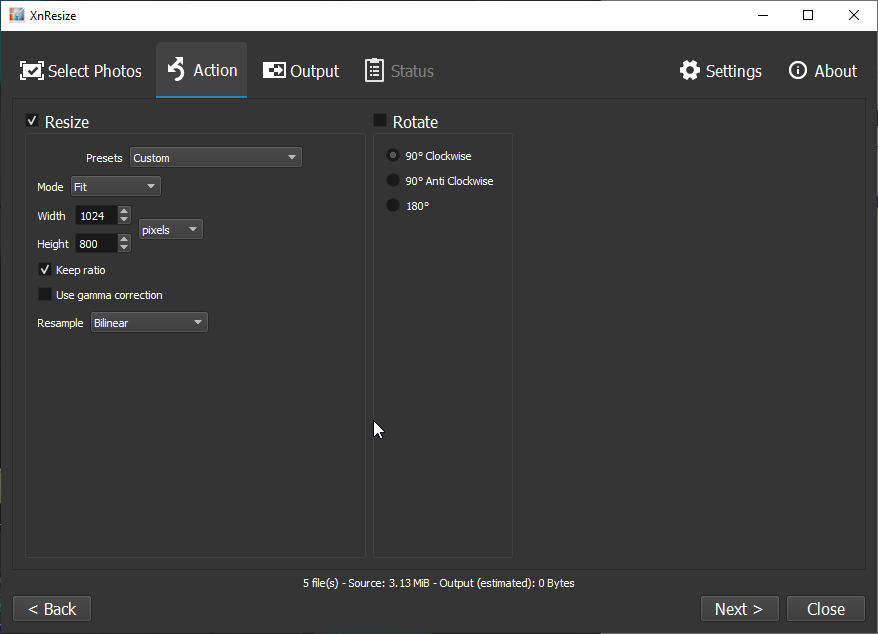
In this tab, you can choose the output dimension, and the mode of resizing:
- Fit: output dimension will fit the width/height
- Fill: output dimension will fill the with/height, image can be cropped
- Longest side: specify the value for the longest side
- Shortest side: specify the value for the shortest side
- Mpixels: specify the size in Mpixels
- Width: specify width, height will be calculate using same ratio as original
- Height: specify height, width will be calculate using same ratio as original
You can choose the resample method and apply a gamma correction on the resized image. Another option is to change orientation of images.
By clicking "Next", you go to "Output" tab. In this tab, you can set the output folder, choose a template name for output filename, or choose output format.
In the options group, you have important settings like
- "Overwrite": What's to do if output filename exists already
- "Keep original date/time": Keep source file date/time
- "Keep metadata": Keep metadata such as IPTc, EXIF, XMP
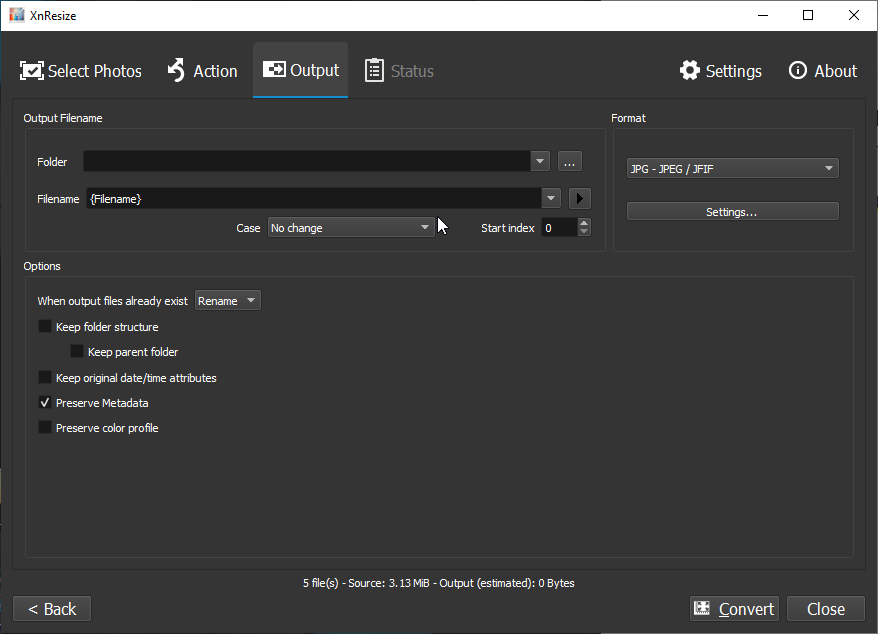
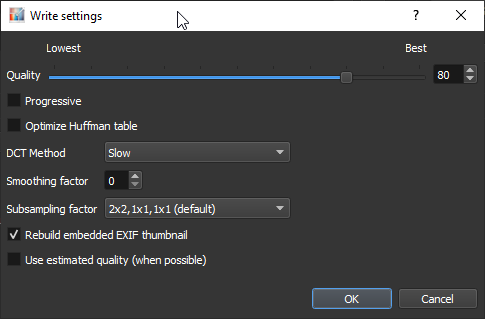
You can change settings for output format like JPEG, PNG
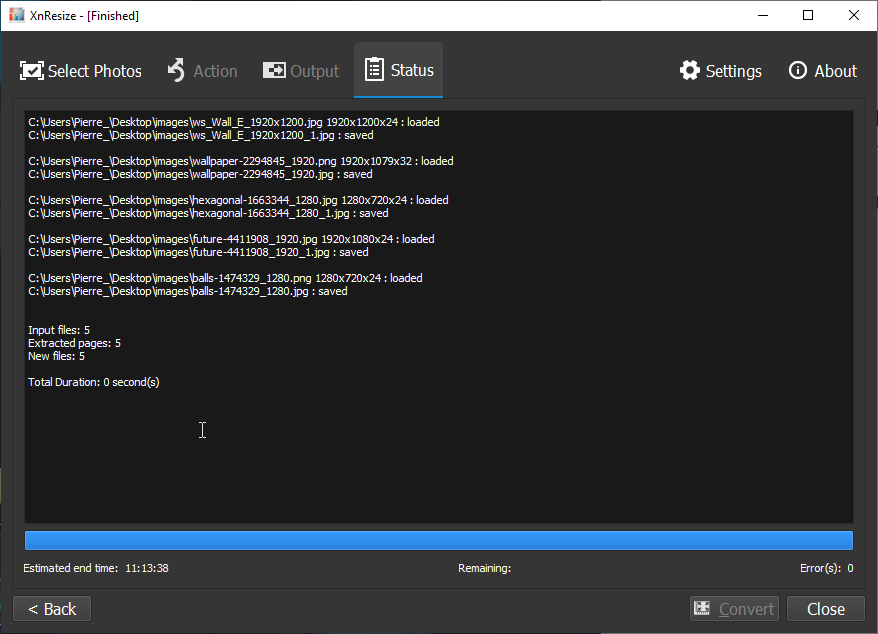
Once you have modified all desired settings and parameters, you can convert your images by clicking on "Convert" button. During conversion, the tab "Status" is shown and you can see the progress.
If there is an error, you will see it here.